Invest in a lighter backpack model with streamlined features and materials. Prioritize lightweight alternatives for gear like sleeping bags and cookware. Trim excessive straps and attachments, opting for multi-functional items when possible.
It Must be Pretty annoying shouting to yourself, “Why Is My Hiking Backpack So Heavy?” Overpacking, carrying bulky or heavy gear, or not prioritizing lightweight options can contribute to the weight.
Regularly assessing your gear and adopting a minimalist approach can help lighten your load for a more comfortable hike. Here are some easy and quick steps that makes your backpack lighter:
Number 1: Lighter Gear in a backpack

Weigh everything and create a detailed spreadsheet or list. Categorize items into “essential,” “optional,” and “luxury” to prioritize your packing.
Here’s a detailed guide on how to perform a thorough gear evaluation:
Gather Your Gear
Collect all the gear you plan to take on your hiking trip. Lay it out in a well-lit and spacious area, so you can see everything clearly.
Weigh Each Item
Use a digital scale or a luggage scale to weigh each piece of gear individually. Round the weights to the nearest ounce or gram for accuracy. Write down the weight of each item in a notebook or on a spreadsheet.
Create a Gear Inventory
Make a comprehensive inventory of all your gear. Include items such as clothing, shelter (tent, tarp, stakes), sleeping gear (bag or quilt, pad), cooking equipment, food, water containers, navigation tools (maps, compass, GPS), hygiene items, and safety gear (first aid kit, repair kit, headlamp).
Also Read
Categorize Gear
Divide your gear into categories based on their functions. Common categories include clothing, shelter, sleep system, kitchen, hydration, navigation, and miscellaneous items.
Prioritize Gear According to their Weight
Within each category, determine which items are essential, optional, or luxury. Essential items are necessary for safety and comfort, optional items provide convenience, and luxury items are non-essential comfort items.
Weight Analysis
Calculate the total weight for each gear category and for the entire pack. This will help you understand where the bulk of your pack weight is coming from. You can use a spreadsheet program like Microsoft Excel or Google Sheets for this purpose.
Number 2: Choose Lightweight Backpack
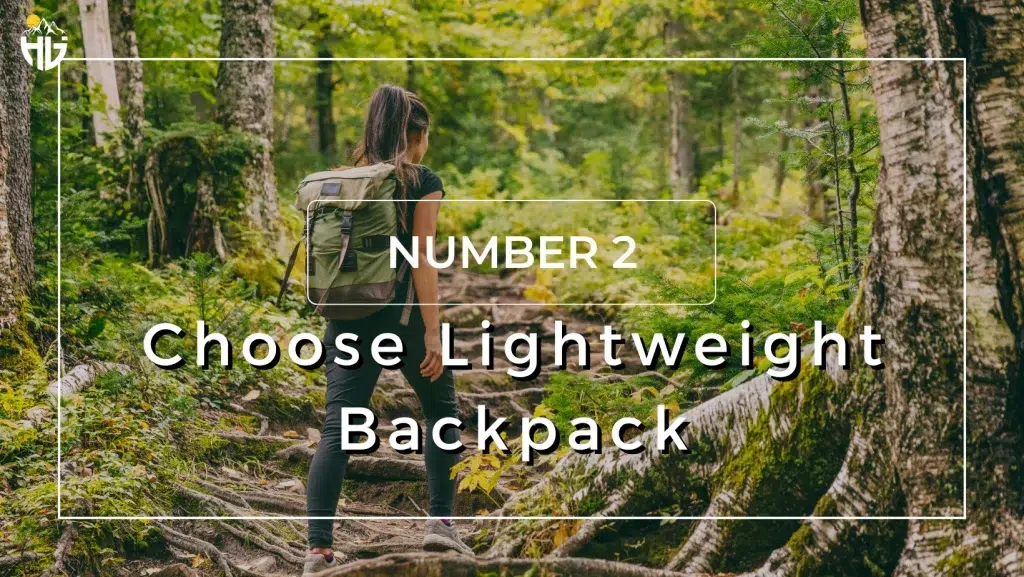
Here are additional details and some popular lightweight bags options:
Consider the backpacks made from high-quality, lightweight materials like Dyneema Composite Fabric (DCF), also known as Cuben Fiber, or ripstop nylon. These materials are durable yet exceptionally light.
A smaller volume encourages packing only what’s necessary, reducing weight. Frameless backpack are minimalist and lighter but suitable for ultralight loads. Framed packs offer more support for heavier gear.
Look for backpacks with fewer pockets and straps, as extra features add unnecessary weight. Minimalist designs focus on essential functions to keep weight down.
Number 3: Ultralight Shelter

Choosing the right ultralight shelter involves considering factors like weight, weather conditions, personal preferences, and budget.
Here’s a guide on how to select an ultralight shelter followed by some suggestions:
Weight
Look for materials like Dyneema Composite Fabric (DCF) or silnylon, which offer a good balance between weight and durability.
Capacity
Determine the number of people you’ll be camping with. Ultralight shelters come in various sizes, from solo to multi-person options.
Design
Consider the type of shelter that suits your needs. Options include single-wall tents, tarps, or hammocks with rain flies. Single-wall tents are enclosed for better bug protection, while tarps are open and provide better ventilation.
Weather Resistance
Look for shelters with adequate rainfly coverage and sturdy stakes for wind protection. Ensure that the shelter’s seams are sealed for waterproofing.
Check out Our Hiking Training Guide!
Ease of Setup
Practice setting up your shelter before your trip to ensure you can pitch it quickly and efficiently. Some ultralight shelters, like tarps, require more skill in pitching than tents.
Durability
DCF shelters are very lightweight but may not be as rugged as silnylon. Choose the right material for your expected conditions and usage.
Ventilation
Adequate airflow is crucial to prevent condensation inside your shelter. Look for shelters with mesh panels and proper ventilation options.
Number 4: Create A Gear Inventory

Creating a comprehensive gear inventory is essential for meticulous planning and weight reduction. Here’s an in-depth guide on how to compile a thorough gear inventory for your hiking or backpacking trip:
Also Read my Adaptive Hiking Guide
Clothing
1. Base Layers: Include moisture-wicking tops and bottoms suitable for the expected temperature range.
2. Insulating Layers: List down any mid-layers, such as fleece jackets or down vests.
3. Outer Layers: Specify your hiking outfits like, waterproof and windproof jackets and pants.
4. Headgear: Don’t forget hats, gloves, and bandanas for sun protection or warmth.
5. Footwear: Detail your hiking boots or shoes, socks, and gaiters if used.
6. Accessories: Mention items like sunglasses, neck gaiters, or insect repellent clothing.
Shelter
1. Tent: Specify the make and model, including capacity and weight for camping
2. Tarp: If using a tarp shelter, list its dimensions and material.
3. Stakes and Guylines: Include the quantity and type of stakes and cords you carry for securing your shelter.
Sleeping Gear
1. Sleeping Bag or Quilt: Mention the temperature rating, brand, and weight.
2. Sleeping Pad: Note the type (foam or inflatable) and R-value for insulation.
3. Pillow: If you carry one, include its weight and type.
Cooking Equipment
1. Stove: Specify the brand and model, whether it’s canister, alcohol, or another type.
2. Cookware: List pots, pans, or mugs used for cooking.
3. Utensils: Include sporks, knives, or other eating utensils.
4. Water Purification: Specify your water filter, purification tablets, or other treatment methods.
5. Fuel: Note the type and quantity of fuel canisters or alcohol bottles.
Food
1. Meal Plan: Detail your daily meal plan, including breakfast, lunch, dinner, and snacks.
2. Caloric Content: Estimate the total daily calorie intake.
3. Packaged Food: Include the weight of packaged meals and snacks.
4. Resupply Plan: Mention any plans for resupplying food during a longer hike.
Water Containers
1. Water Bottles: Specify the type and quantity of water bottles you carry.
2. Hydration Bladder: Include the capacity and weight if you use one.
Navigation Tools
1. Maps: Note the type of maps you carry and their coverage.
2. Compass: Specify the make and model.
3. GPS: If used, include details about your GPS device.
Hygiene Items
1. Toiletries: List items like toothbrush, toothpaste, toilet paper, and hand sanitizer.
2. Trowel: Include the weight if you carry a trowel for digging cat holes.
3. Towel: Specify the type and size of your camping towel.
Safety Gear
1. First Aid Kit: Detail the contents of your first aid kit.
2. Repair Kit: Include items like duct tape, repair patches, or a sewing kit.
3. Headlamp: Mention the brand, model, and spare batteries.
Other Items
1. Lighter Backpack: Include the make and model, along with its empty weight.
2. Trekking Poles: Specify if you carry trekking poles and their weight.
As you compile this detailed gear inventory, it will serve as a valuable reference for planning your trips, making weight-conscious decisions, and ensuring you have all the essential items for a safe and enjoyable hiking experience.
Number 5: Weight Analysis
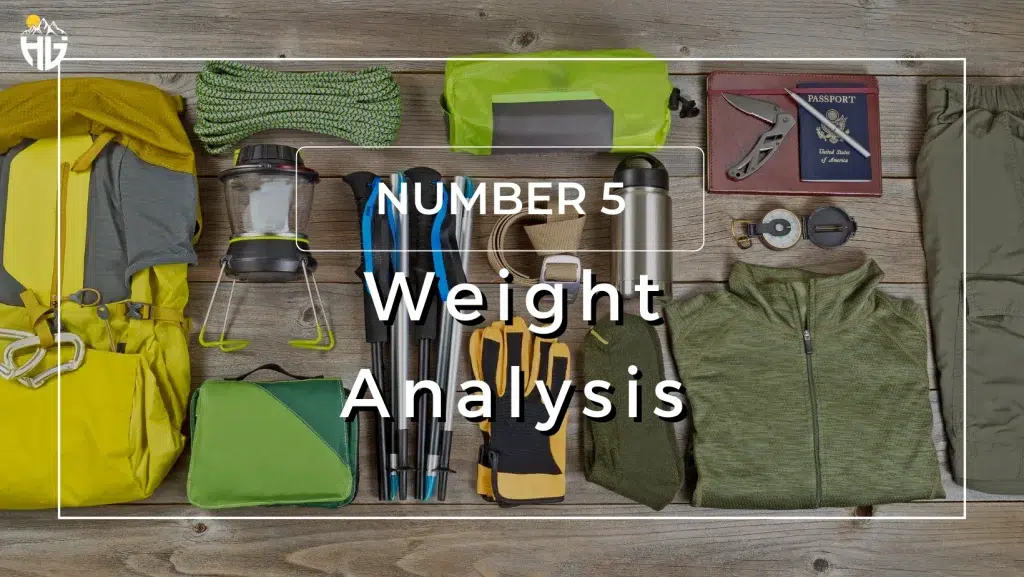
It allows you to gain insight into where the majority of your pack weight is concentrated, aiding in informed decisions to reduce it. Here’s a more detailed explanation of how to conduct a weight analysis:
Create a Spreadsheet
Start by setting up a spreadsheet using software like Microsoft Excel or Google Sheets. Create columns for categories of gear, item names, individual item weights (in ounces or grams), and quantities if applicable.
List Your Gear
Begin by listing all your gear items under their respective categories. Be thorough and include every piece of gear, no matter how small.
Weigh Each Item
Use a reliable digital scale to measure the weight of each gear item accurately. Round weights to the nearest ounce or gram, depending on your preference.
Enter Weights
Input the weights of each item into your spreadsheet. If you have multiple quantities of an item, ensure you calculate the total weight for that item.
Calculate Subtotals
Create a subtotal row for each gear category, summing up the weights of all items within that category. This gives you the weight for each gear group, such as clothing, shelter, or cooking gear.
Calculate Total Pack Weight
Add up the subtotal weights to determine the total base pack weight. This is the weight of your gear without consumables like food and water.
Analyze and Prioritize
Review the spreadsheet to identify which gear categories or specific items contribute the most to your pack weight. This analysis helps you pinpoint areas where weight reduction is most feasible and beneficial.
This data-driven approach empowers you to make informed choices about where to trim backpack weight, leading to a lighter and more enjoyable hiking experience.
How To Make Tent Lighter
To make your tent lighter, consider switching to a lightweight or ultralight tent model. Choose minimalist designs with fewer features and use lightweight materials like Dyneema or silnylon. Reduce the number of stakes and guylines, and leave unnecessary components like stuff sacks behind.
Conclusion
Making your backpack lightweight involves a strategic approach. Start by evaluating your gear meticulously, prioritize essentials, and opt for lightweight alternatives. Choose a lightweight backpack and shelter, and streamline your clothing and cooking gear.
Consider multi-purpose items, practice minimalist packing, and continuously review and update your gear list. Focus on reducing food and water weight, and always balance weight savings with safety and comfort. By following these steps, you can achieve a lighter backpack, enhancing your mobility and enjoyment during outdoor adventures.